
This guide helps you create custom product page templates using BettaMax’s Page Builder and apply those templates to specific products. Each product can use its own template without affecting other products.
Step 1: Access Themes and open Customize. #
The entire product page template creation process is done in the Customize section of the Theme. Make sure you are editing the correct theme that is currently active for your store.
- From the left-hand menu bar, select My Store > Theme .
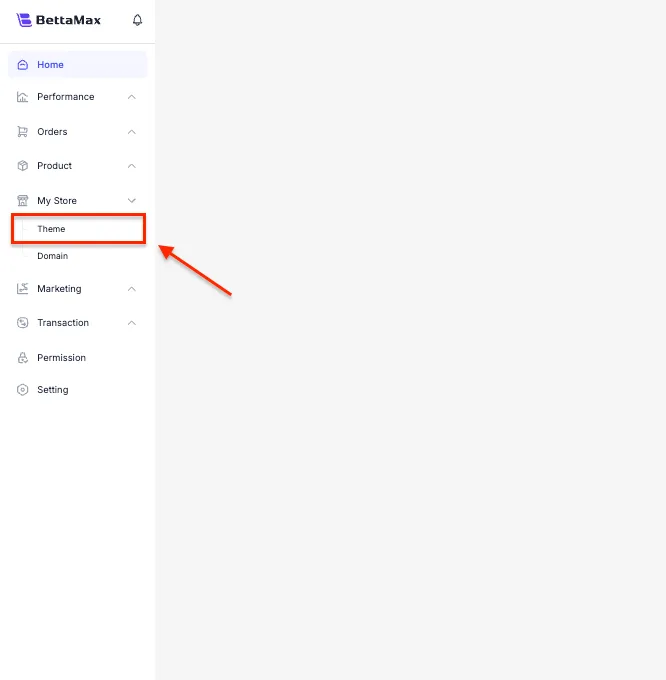
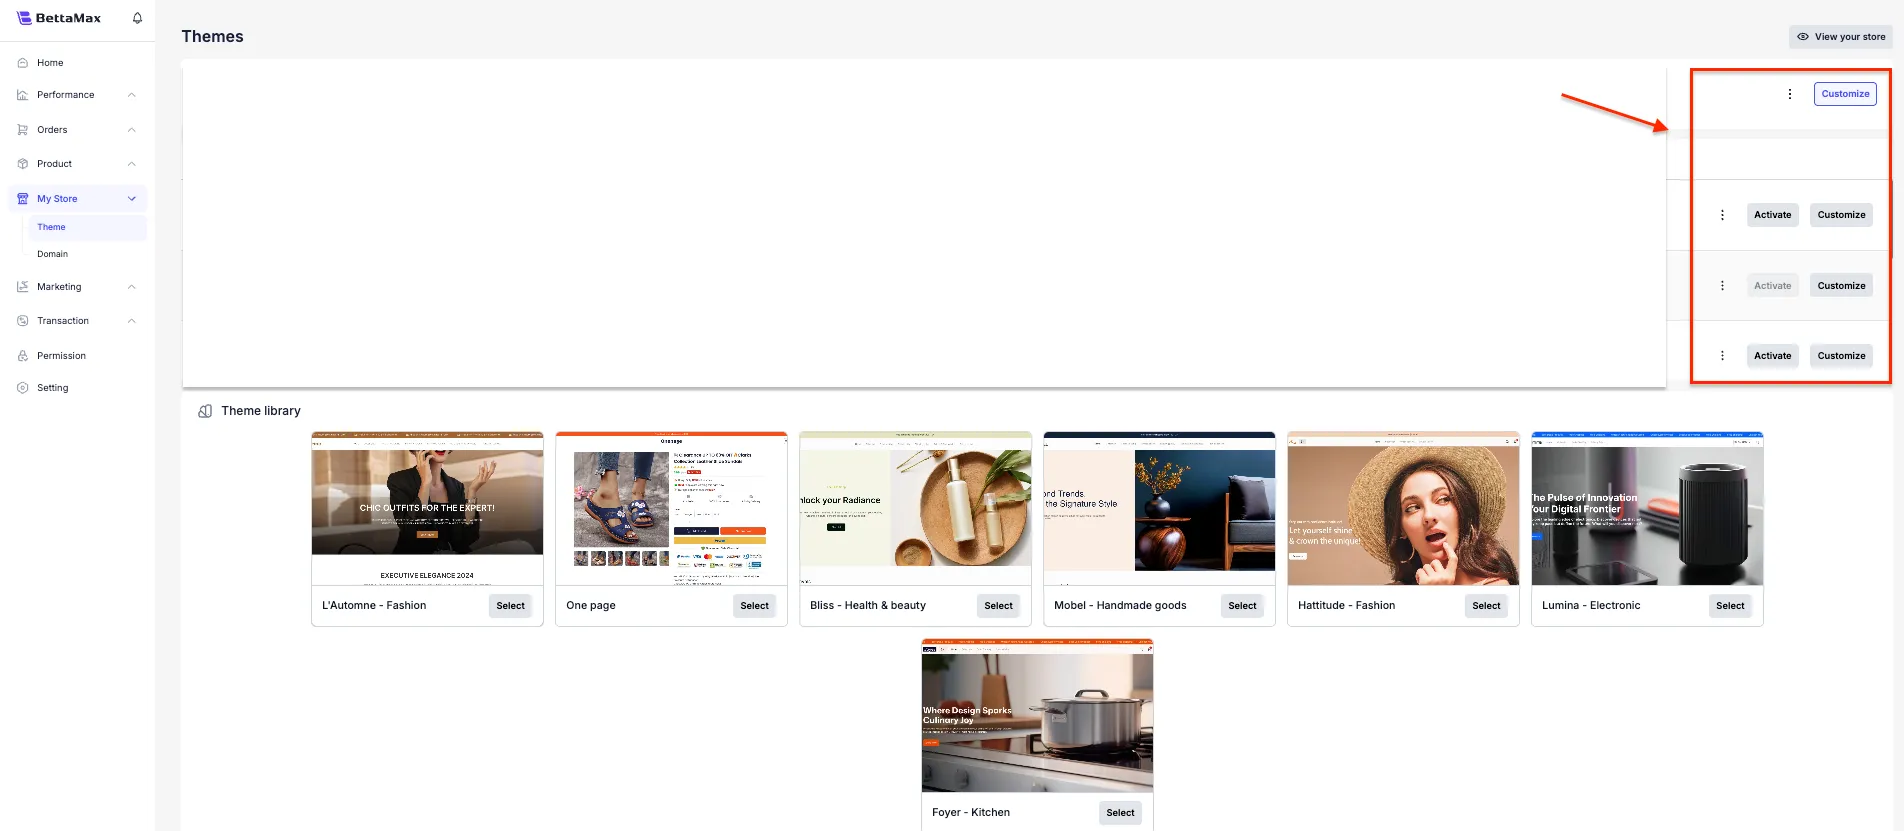
- Confirm that the current theme is active. Click Customize on that theme card to open the editor.
Step 2: Navigate to the Product Page #
After going to Customize, you’ll be viewing the Homepage by default. You need to switch to the Product Page to create a template for your product page.
- In the editor’s top toolbar, click the dropdown that shows Home Page .
- Select the Product Page from the list.
Step 3: Create a new product template #
BettaMax allows you to create multiple different templates for your product pages. Each template can be applied to one or more products. Create separate templates for each product group to tightly control the interface and optimize conversion rates for each campaign.
- In the Product Page interface, click Create Template .

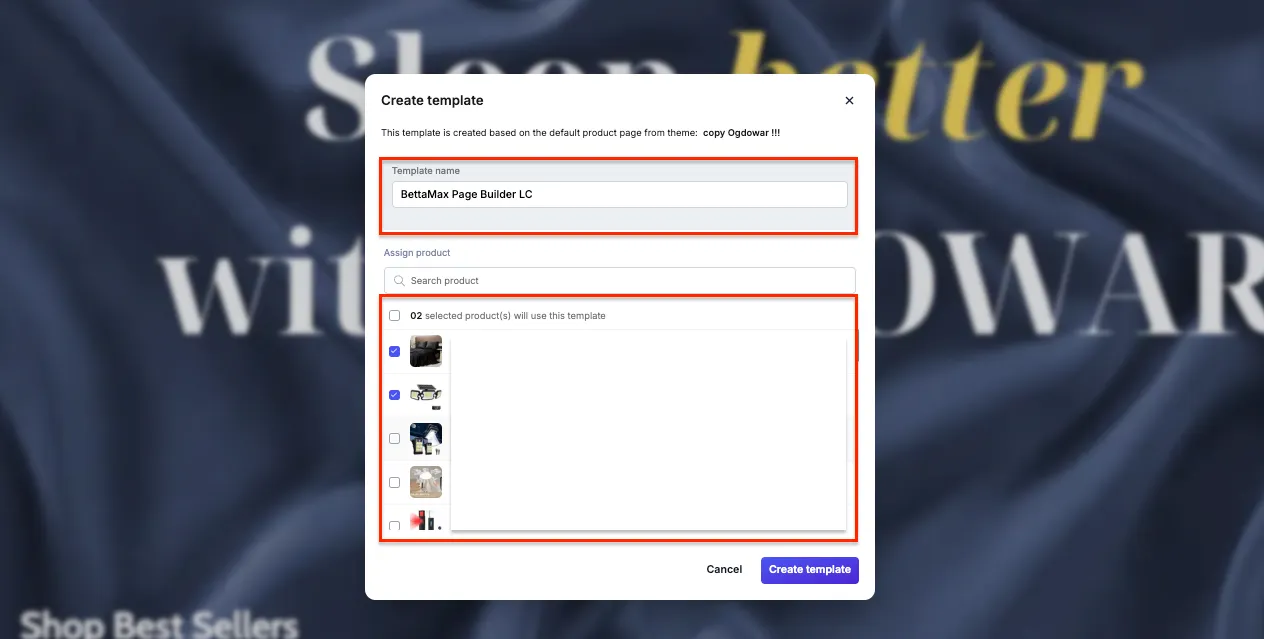
- A dialog box appears requesting two pieces of information:
- Template Name — Choose a memorable name to distinguish it from other templates. For example:
Template_SanPhamHot,Template_FlashSale. - Product Prototype — Choose an existing product to use as a preview during the design process. This product is for preview purposes only and will not affect other products.
- Template Name — Choose a memorable name to distinguish it from other templates. For example:
- Click Create Template to start.
Template_Electronics_Q2this makes them easier to manage Template1when you have multiple templates.Step 4: Design the product page #
After creating the template, you’ll be taken to the design interface. Use drag-and-drop functionality to add, delete, and rearrange elements on the product page. The operation is similar to Page Builder Homepage.
- Select the components you want to add from the menu on the left (banner, product image, description, CTA button, countdown timer, testimonial, etc.).
- Drag the element to the desired position on the canvas. The blue line indicates where the element will be placed.
- Click on the element to edit its content, color, font size, and spacing in the left-hand panel.
- Test the interface on both desktop and mobile by switching the view mode in the top bar.
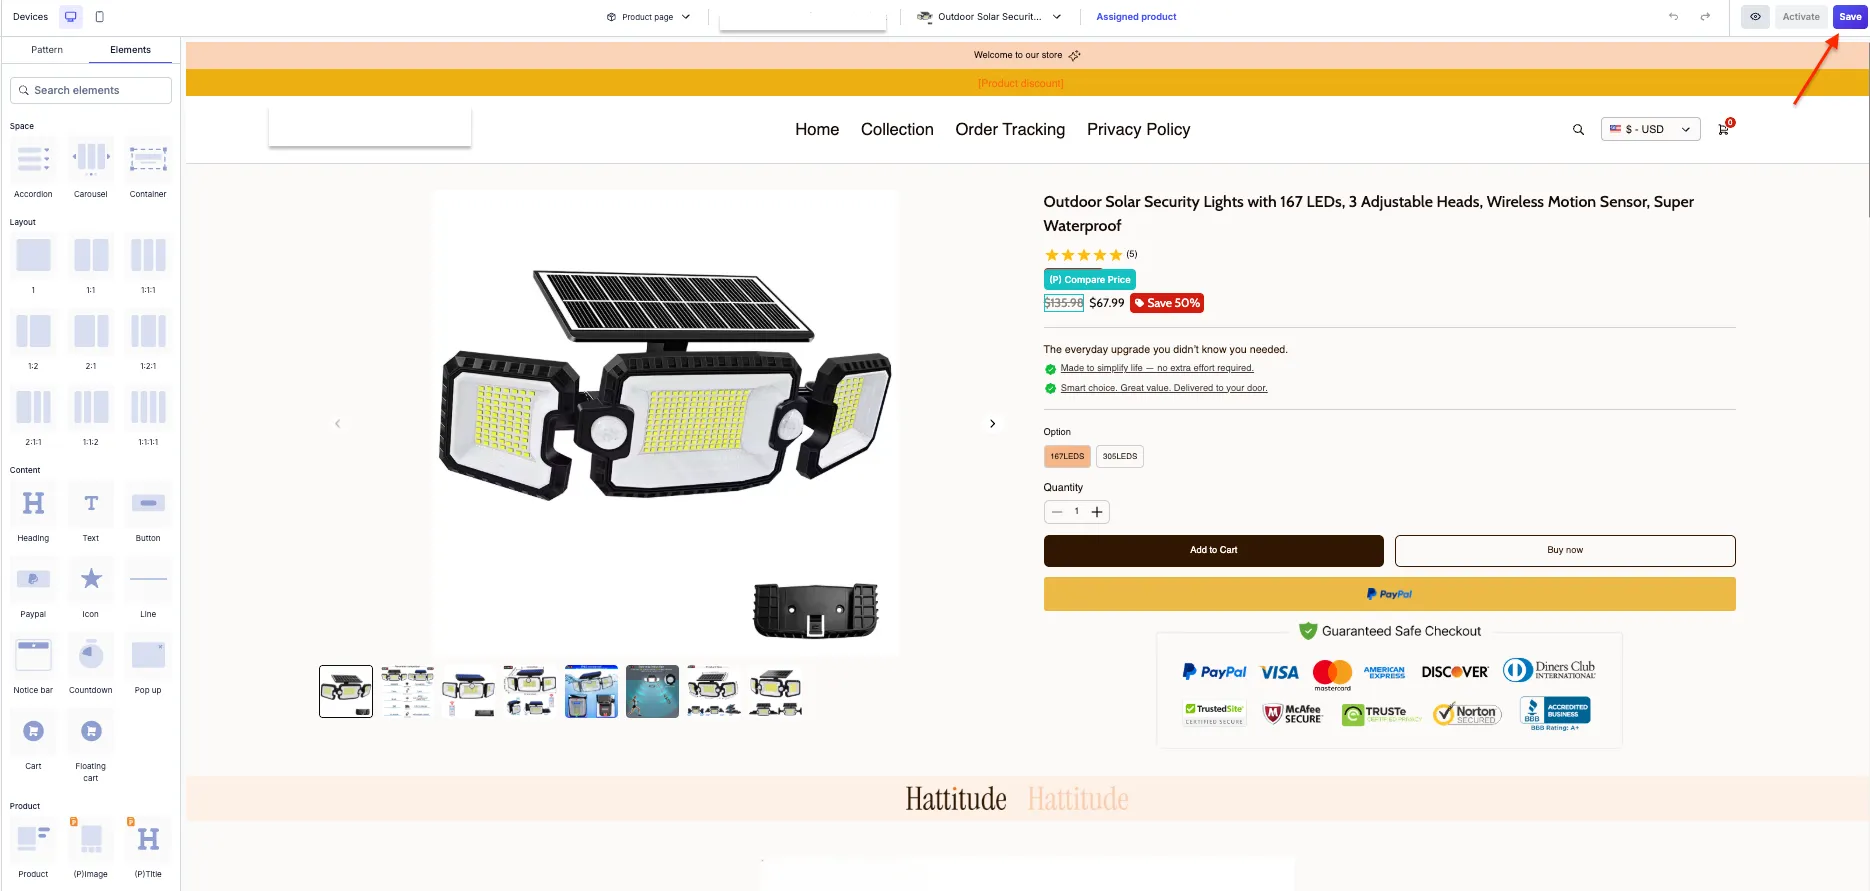
Step 5: Save the template #
After you’ve finished designing, save the template before exiting. Unsaved templates will lose all changes if you close the tab or switch pages.
- Click Save in the upper right corner of the editor.
- Confirmation successful saving. The template appears in the store’s template list.
Step 6: Apply the template to the product. #
The template you just created is not automatically applied to any products. You need to manually specify the template for each product you want to use this interface for.
- From the sidebar, select My Product .
- Click on the product to which you want to apply the template.
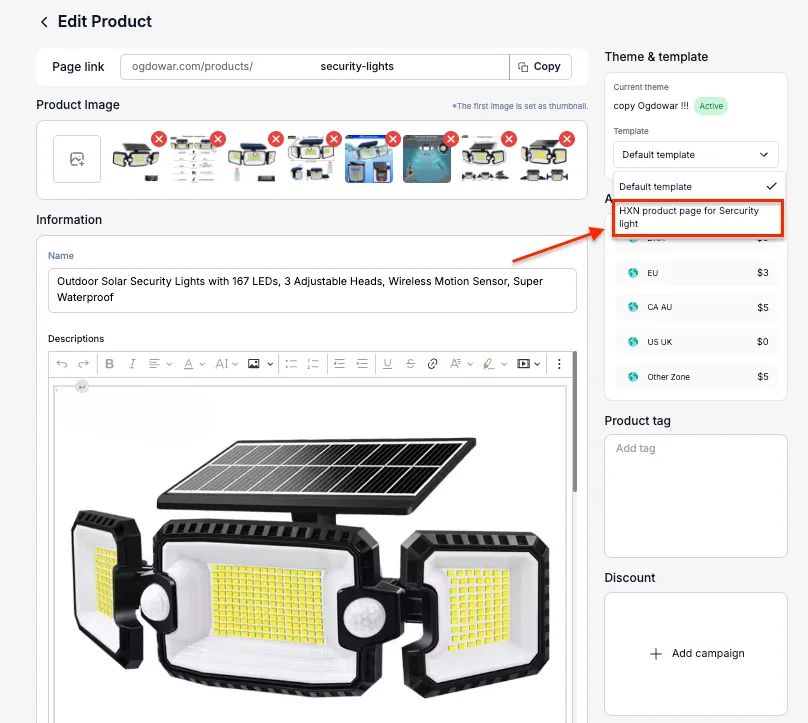
- In the product editing page, find the Theme & Template section in the right-hand column.
- In the Template section , select the template you just created from the dropdown.
- Click Save Changes to save and apply the changes.