This guide will help you create a new Product Page Template from an existing template and assign it directly to a specific product or product group in BettaMax. It takes approximately 5 minutes.
Before we begin:
- You have logged into my BettaMax account at admin.bettamax.com
- At least one theme has been activated.
- At least one product has been added to the store.
What is Create Template? #
Create Template allows you to create a new Product Page Template by copying the layout from an existing template, then assigning it specifically to a product or group of products. The assigned product will display according to its own template, completely independent of the other products in the store.
Step 1: Open Theme Editor #
Access Theme Editor from the dashboard to begin managing your store’s templates.
- From the dashboard, navigate to My Store > Theme .
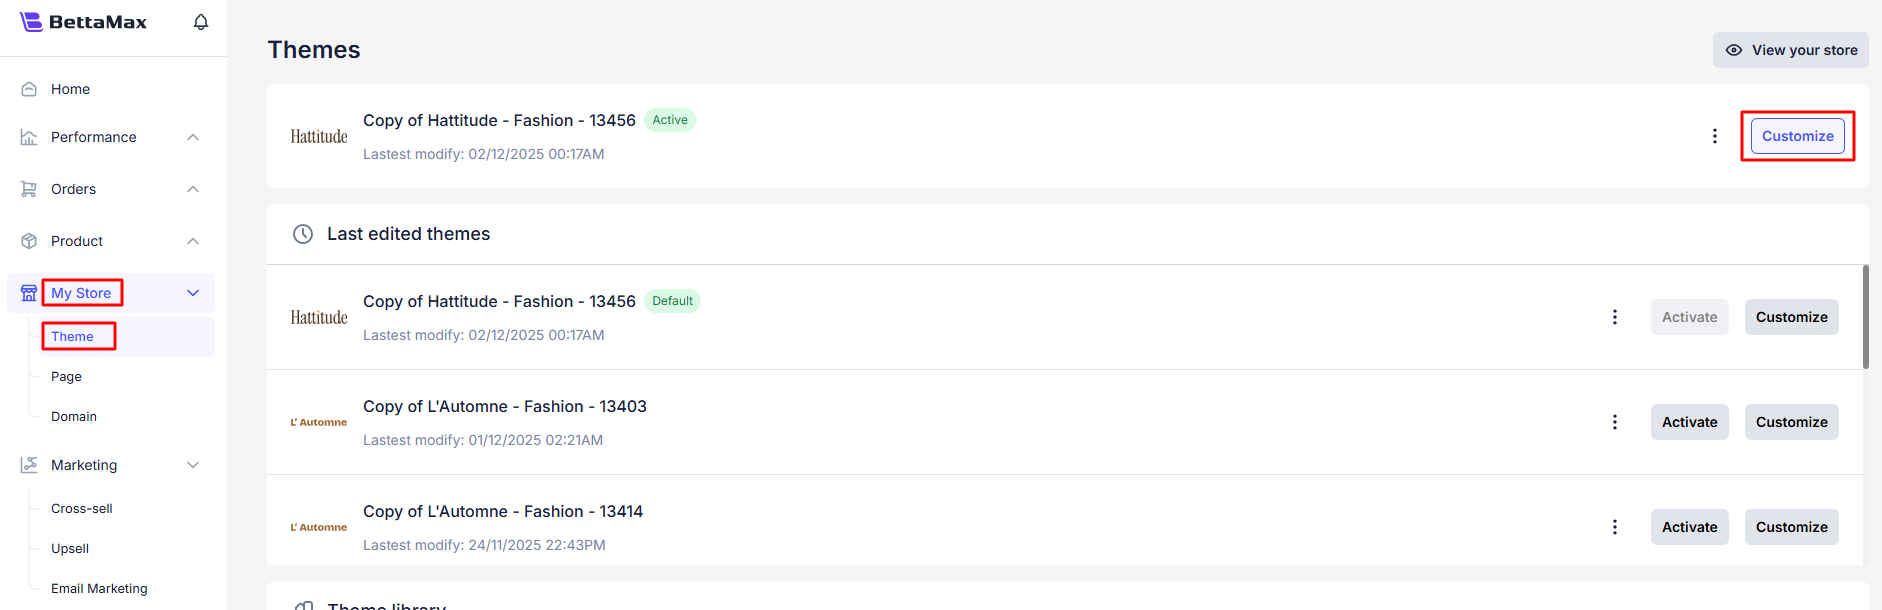
- Find the theme that is currently active , then click the Customize button .
Step 2: Create a new template from the Product Page #
After opening the Theme Editor, select the page type and create a new template from the list of available templates.
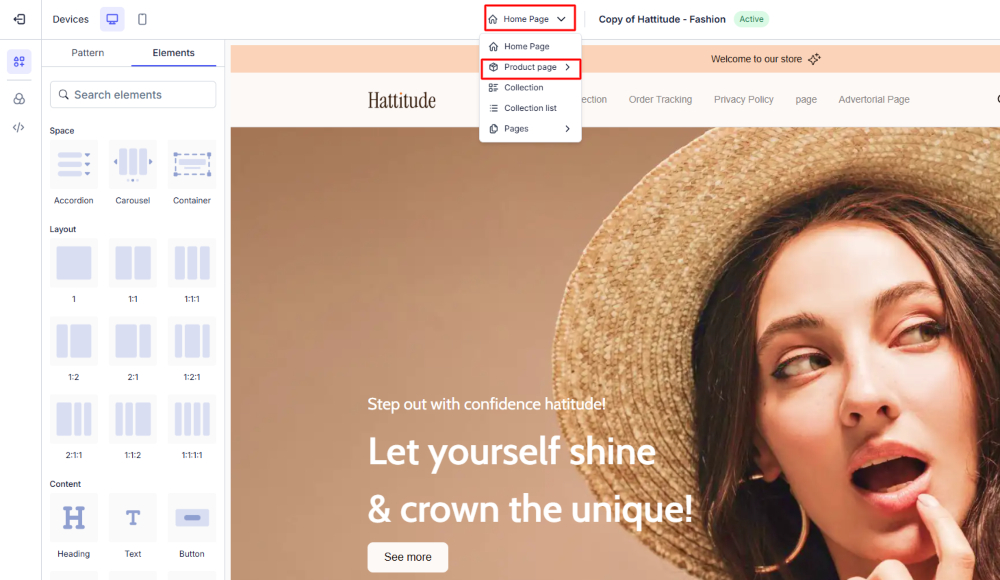
- Click on the dropdown menu in the top bar of the Theme Editor (currently displaying the page name).
- Select Product page from the list of page types.
- Scroll to the bottom of the template list and select Create template .

Step 3: Name, select source, and assign product #
- Enter the template name in the Template name field .
- In the “Duplicate from” field , select the template whose layout you want to copy.

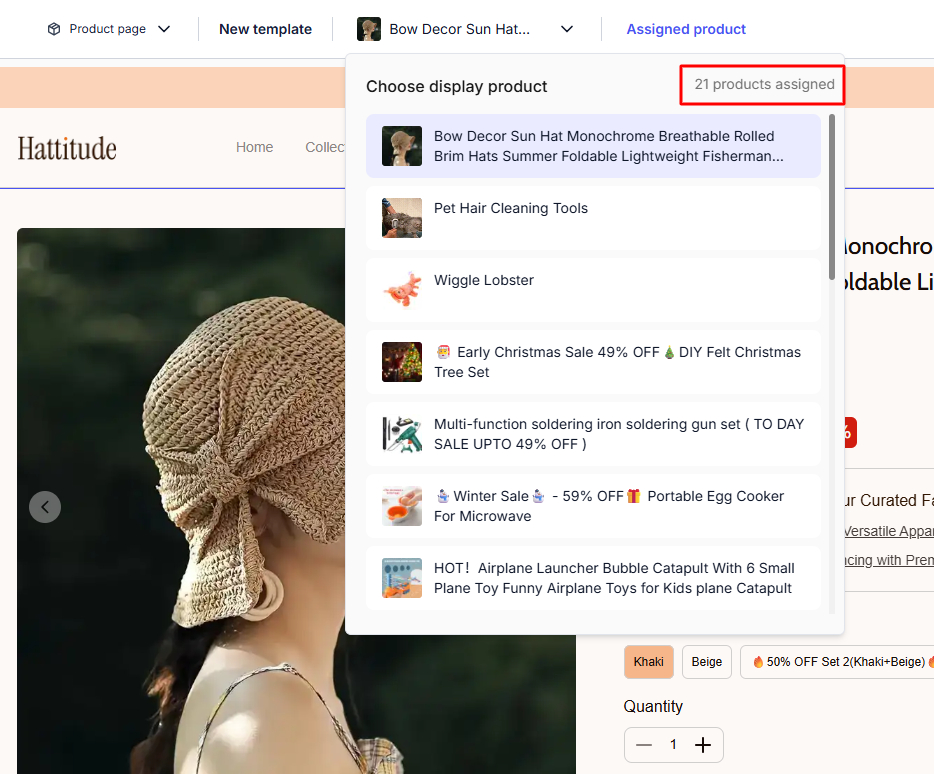
- Check the box ” Only selected product(s) will use this template” to enable product assignment.
- Use the “Search product” box to find products, then select each product you want to assign to this template.

- Click Create to complete.
Step 4: Review and edit the template #
After successful creation, the Theme Editor automatically switches to the new template. You can edit it right there.
- Confirm the ” Create template successfully!” notification that appears in the corner of the screen.
- Check the template name in the dropdown bar at the top to confirm that the correct template you just created is selected.
- Edit the elements on the template according to the requirements of the campaign or product group.