
This guide will show you how to change the logo and favicon for your BettaMax store in the Branding section of Page Builder. The logo will appear in the store header, and the favicon will appear in the browser tab. This process takes approximately 5 minutes.
Step 1: Prepare the logo and favicon files. #
Before uploading, make sure you have the image file in the correct size. Uploading the wrong size may cause the logo to be blurry, distorted, or not display correctly on various devices.
- Main logo: Recommended size 250 x 100px . Transparent background PNG format for best display on any background color.
- Favicon: Size 32 x 32px or 16 x 16px . PNG or ICO format. This is the small icon displayed on the browser tab.
Here are some AI-powered logo design tools:
Step 2: Access the Branding section in My Store. #
The logo and favicon are managed in the Branding section within the theme editor. This is where all of the store’s brand identity settings are centralized.
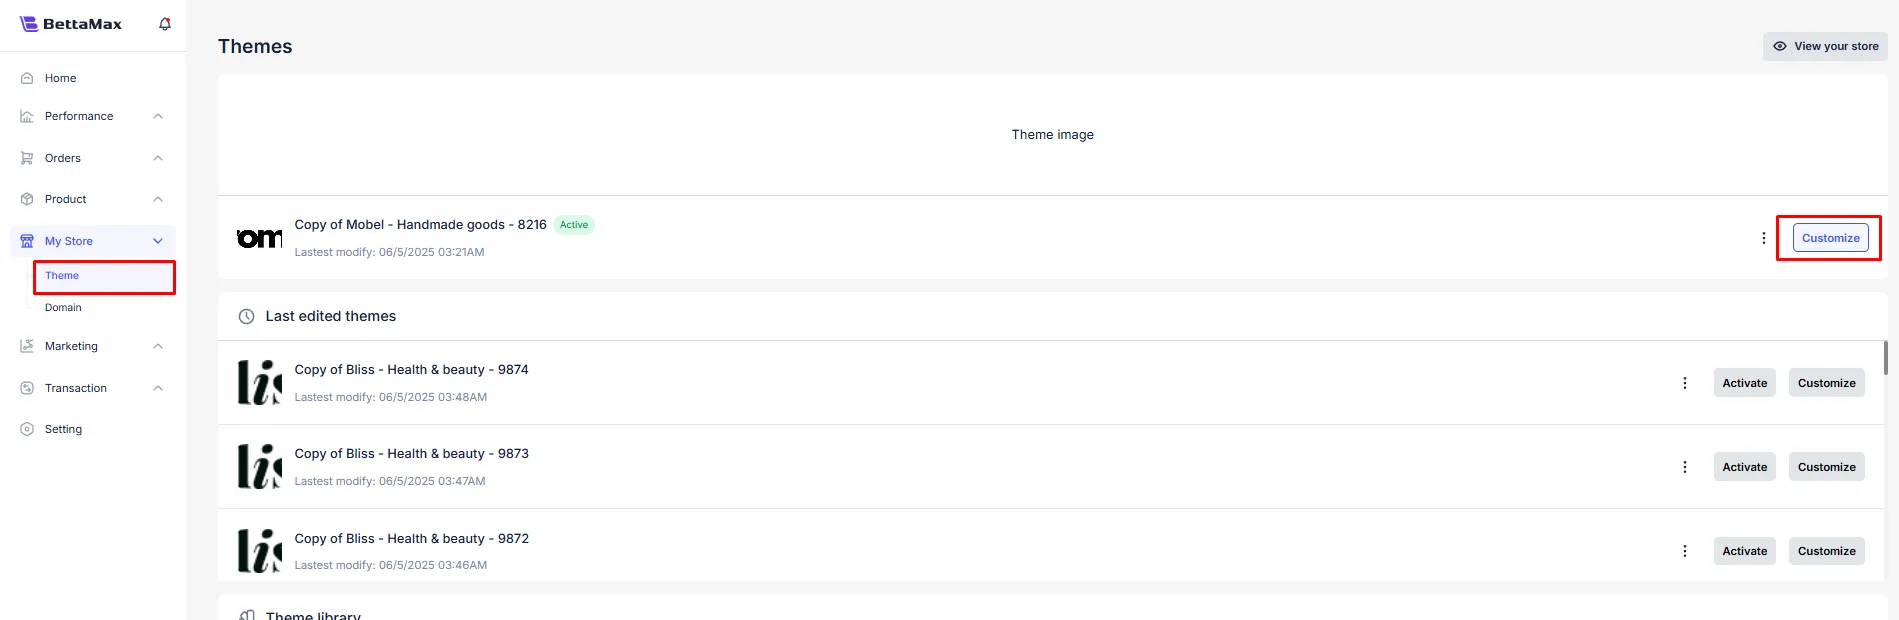
- From the left-hand menu bar, select My Store > Theme .
- Click Customize to open the Page Builder.
- In Page Builder, click the three-circle icon -> Branding in the left-hand menu.
Step 3: Upload the new logo #
After accessing the Branding section, you will see two separate upload areas for the main logo and favicon. Upload each file to its corresponding location.
- In the Logo section , click on the upload area or the Upload Image button .
- Select a logo file from your computer (PNG or JPG format, 250 x 100px size).
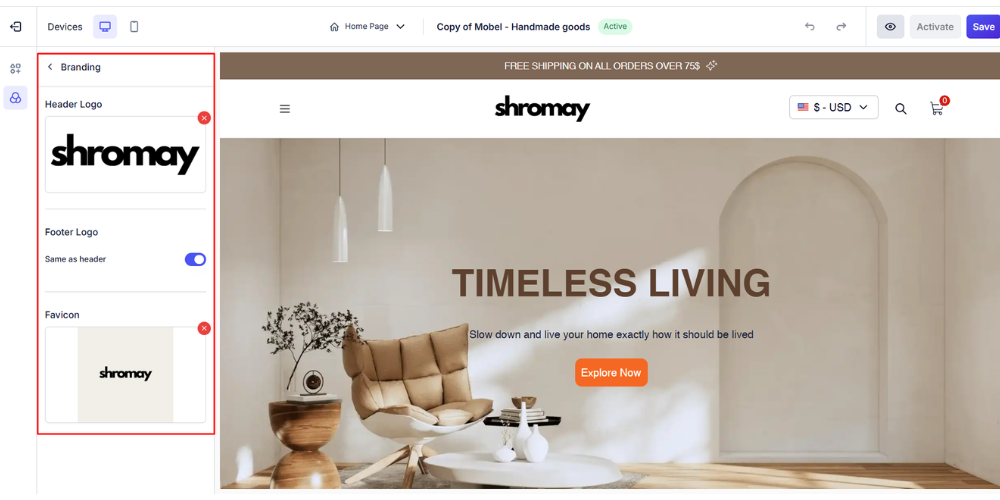
- The new logo appears in the preview immediately after successful upload. Check that the logo displays correctly in the store header in the right-hand canvas.
Step 4: Upload the favicon #
A favicon is a small icon that appears on a browser tab next to the store’s name. A clear favicon helps customers recognize the store more quickly when they have multiple tabs open at the same time.
- In the Favicon section , just below the Logo section, click on the upload area or the Upload Image button .
- Select a favicon file from your computer (PNG or ICO format, 32 x 32px or 16 x 16px size).
- Verify that the favicon appears correctly in the preview.
Step 5: Save and check the results #
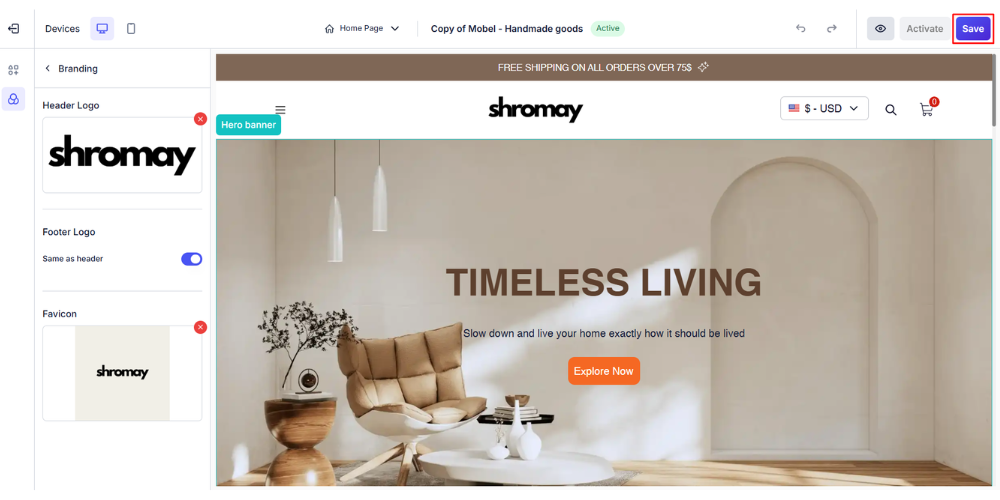
After uploading both the logo and favicon, save the changes and test them directly in the store to ensure they display correctly on both desktop and mobile.
- Click Save in the upper corner of Page Builder to save your changes.
- Open the store in your browser to check if the logo is displayed in the header.
- Check that the favicon appears in the browser tab next to the store name.