
Google Tag Manager (GTM) is a powerful tool that allows you to add conversion tracking codes to your store without needing help from a developer. If you’re not sure how to use or integrate this tool, this article provides a clear, comprehensive guide to install Google Tag Manager from scratch, tailored for dropshipping sellers on BettaMax.
What is Google Tag Manager used for?
Google Tag Manager is a free tool provided by Google that helps users manage and deploy tracking codes on their stores—without editing any code directly.
For dropshipping sellers, GTM is especially valuable. They can easily add, remove, or edit tracking tags like Google Ads Conversion Tracking, Google Analytics, Facebook Pixel, and other tools—without relying on developers.
Key Benefits of Google Tag Manager
So, what does Google Tag Manager do? Simply put, it streamlines the management and deployment of tracking codes, boosting store performance without touching the backend. Here’s why it’s a game-changer for dropshipping:
- Manage tags without coding skills: GTM enables non-technical users to effortlessly add, update, or remove tracking tags like Facebook Pixel, Google Analytics, or remarketing tags—without touching the source code.
- Save time and resources: By reducing your reliance on technical teams, GTM helps streamline the deployment of tracking codes, minimizing wait time and cutting implementation costs.
- Boost store performance: Rather than loading all tags at once, GTM triggers them based on user behavior or specific conditions. This improves page load speed and enhances the user experience.
- Support diverse integrations: GTM works seamlessly with popular tracking and advertising tools, including Google Ads, Google Analytics, Facebook Pixel, LinkedIn Insight Tag, and more. Plus, you can customize HTML/JavaScript tags for unique tracking needs.

How to Set Up Google Tag Manager
GTM Interface Overview
Google Tag Manager has an intuitive interface that makes managing tags, triggers, and variables a breeze for dropshipping sellers.
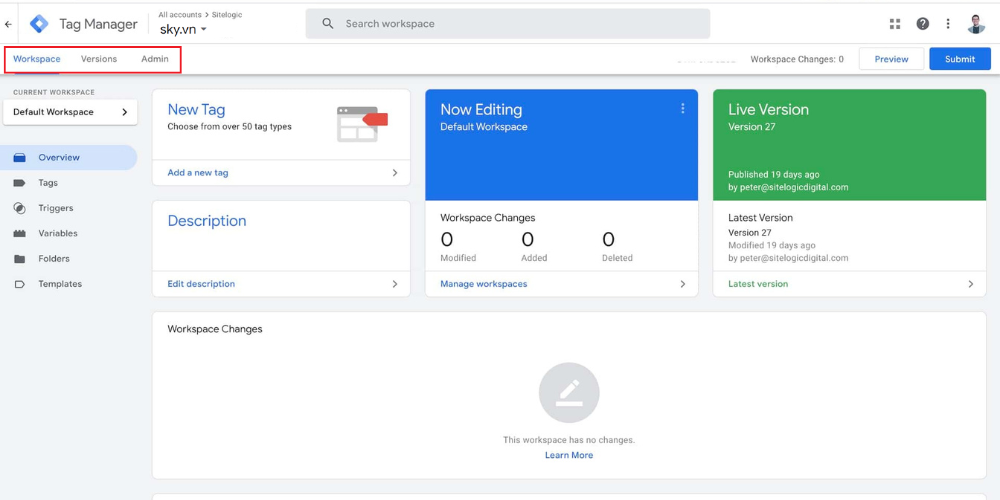
Main Navigation Panel
Located at the top, this panel includes:
- Workspace: GTM enables multiple workspaces for team members to work simultaneously without overwriting each other’s progress.
- Versions: GTM stores all published versions so you can view past and present changes and revert to previous versions if necessary.
- Admin: Manages account settings, permissions, and container configurations.
Main Working Area
The central dashboard is divided into ke sections to for easy management when installing Google Tag Manager into the BettaMax store:
- Tags: List of tracking tags like Google Analytics, Facebook Pixel, etc., that activate under specific conditions.
- Triggers: Define when tags fire, like a button click, page load, or completed purchase.
- Variables: Store dynamic data such as URLs, product IDs, or order values, with built-in and custom options.
- Folders: Organize tags, triggers, and variables for better control.
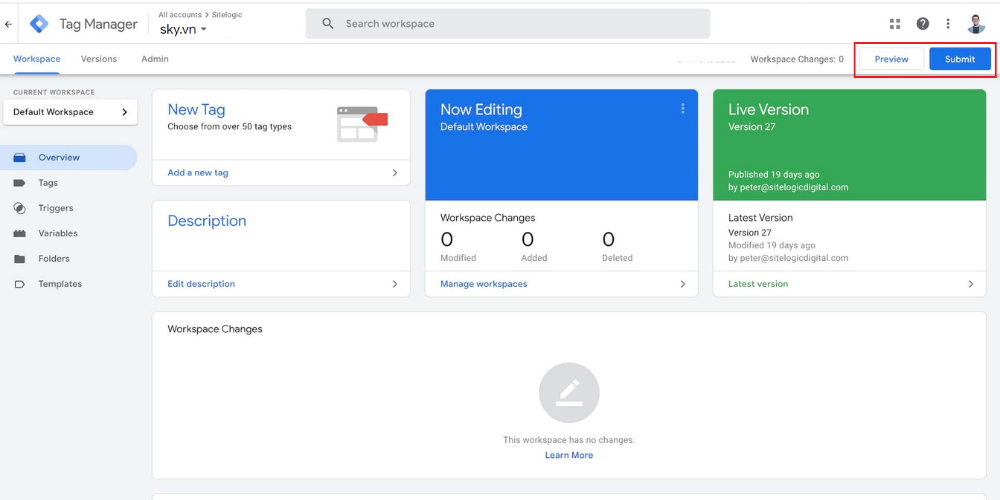
Testing and Publishing Tools
GTM includes essential features for safe deployment:
- Preview: Lets sellers test tags before publishing to ensure they fire correctly.
- Submit: When ready, publish your updates to go live on your store.
In summary, GTM’s user-friendly design and robust features optimize tracking code management, saving time and minimizing errors for your dropshipping store.
Step-by-Step: Install Google Tag Manager on Your BettaMax Store
Getting Your Google Tag Manager ID
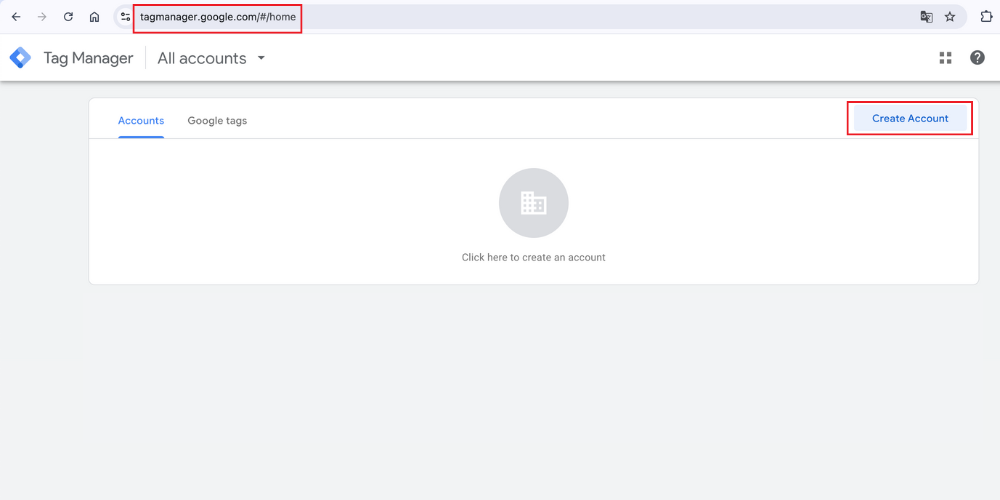
Step 1: Create a Google Tag Manager Account
First, go to Google Tag Manager, sign in with your Google account and click “Add a new account”. Then, fill in required details account name, country, and follow the on-screen instructions.
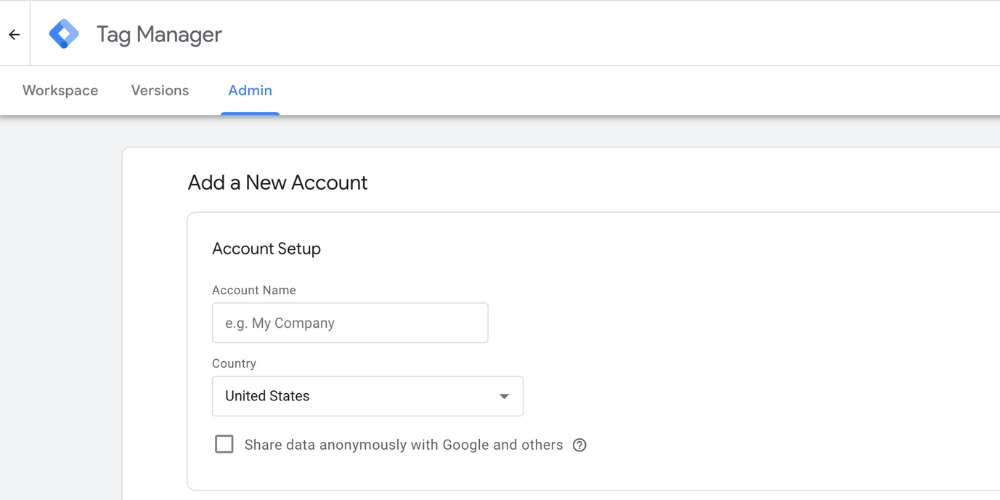
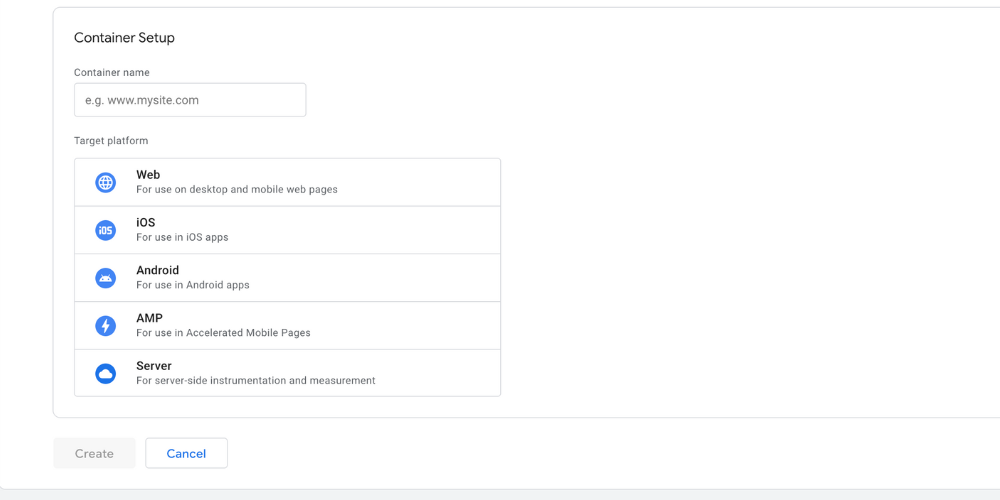
Step 2: Set Up Account and Container
Next, configure your container in the “Container Setup” section. Choose a name that suits your needs, then select the platform (e.g., Web, iOS, Android, AMP, or Server). Click “Create” to finalize your account and container.
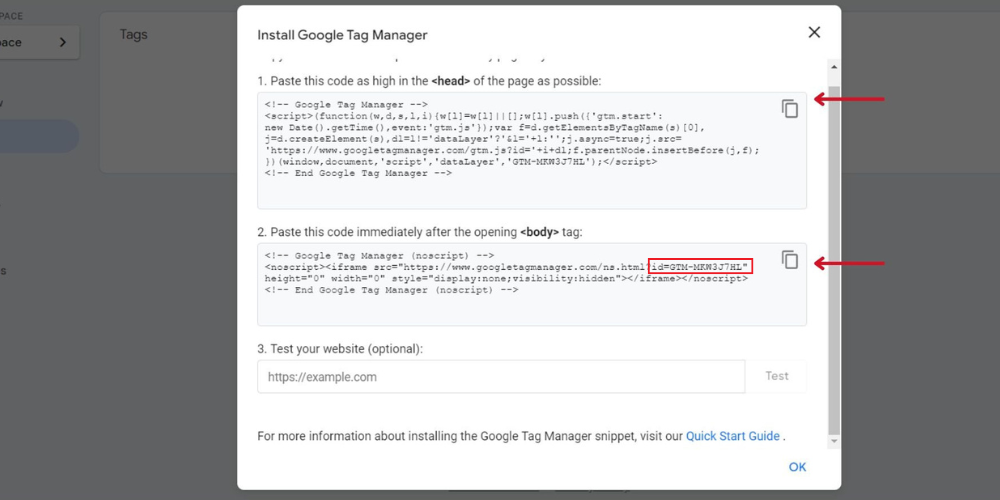
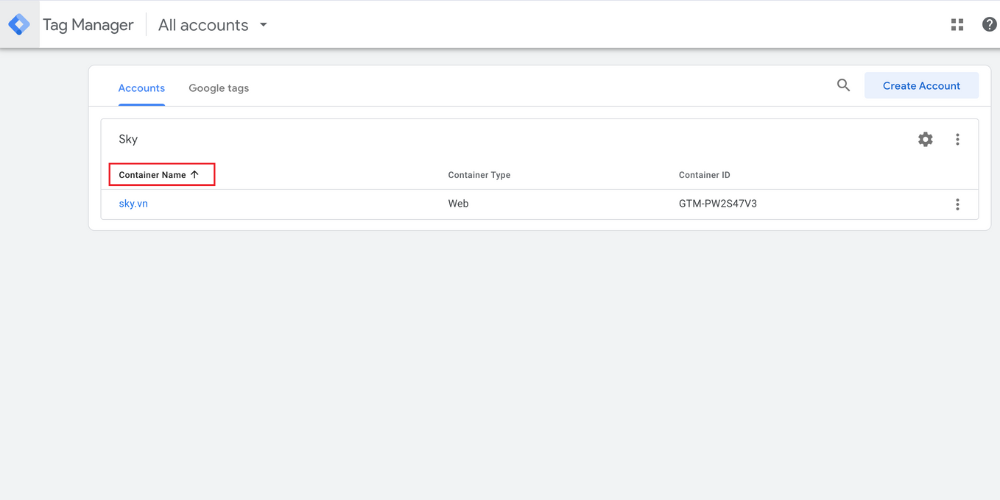
Step 3: Copy Your GTM ID
The system will provide a javascript snippet. Locate and copy the GTM ID (circled in red in the image below) for integration into your store.
Add GTM to Your BettaMax Store
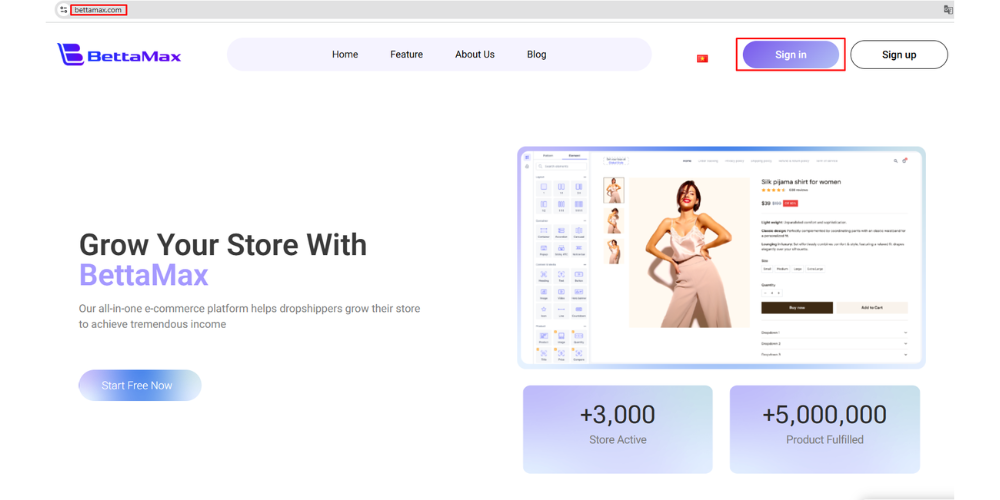
Step 1: Sign in to your BettaMax seller account.
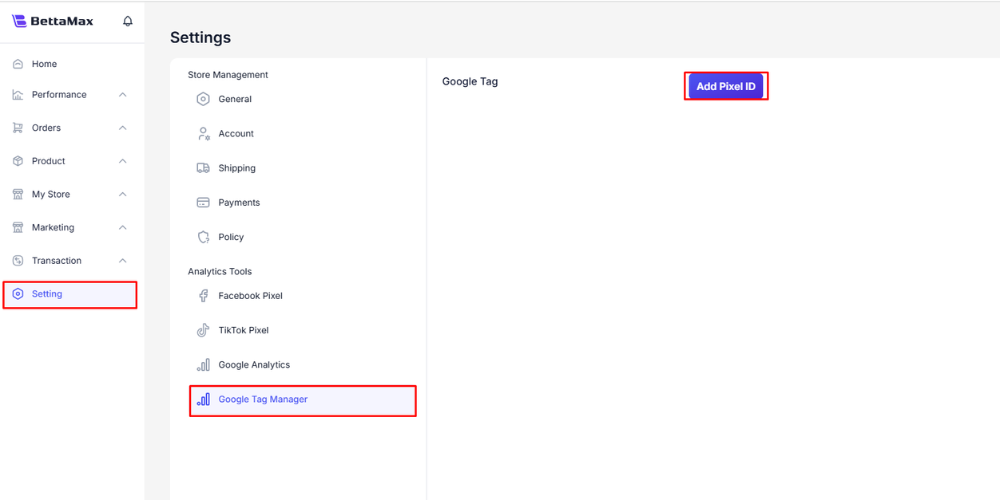
Step 2: Go to Settings → Google Tag Manager → Add Pixel ID.
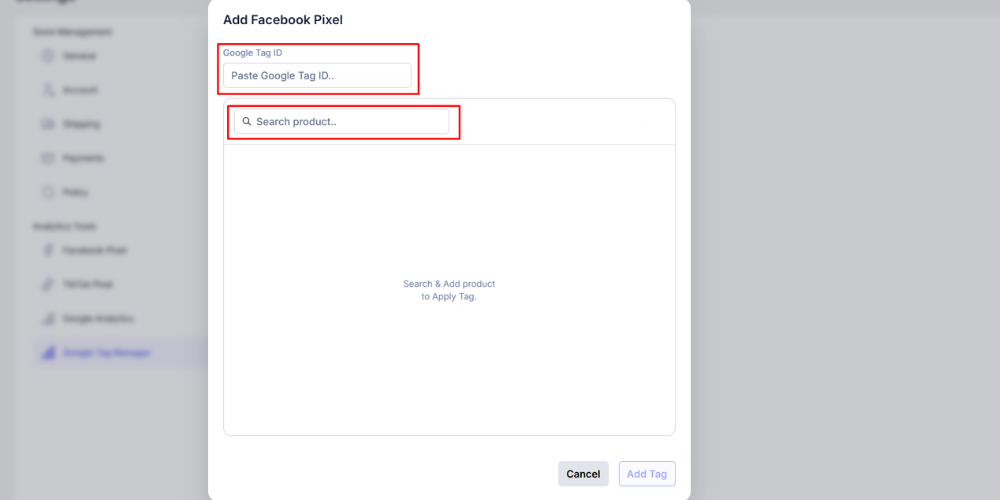
Step 3: Add the Google Tag Manager ID to your store
Paste the ID into the “Paste Google Tag ID” field → search for the product to track in “Search Product” → click “Add Tag” to finish.
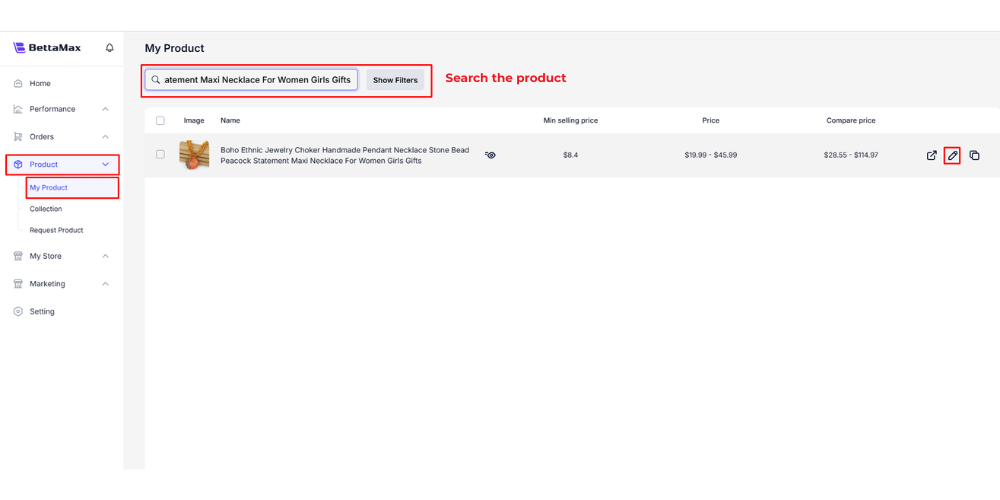
Step 4: To check whether your Google Tag Manager has been successfully added to your BettaMax store:
Go to My Product → Search for the product you linked the Google Tag Manager to → Click the Edit icon.
If successful, the ID will appear in the Google Tag column.

How to Use Google Tag Manager to Track Key Data
Setting Up Call Conversion Tracking with Google Tag Manager
Conversion data is critical for dropshipping sellers and should be monitored regularly. Here’s how to set up call conversion tracking in GTM.
To measure call conversions, first identify where users can access call buttons on your store.
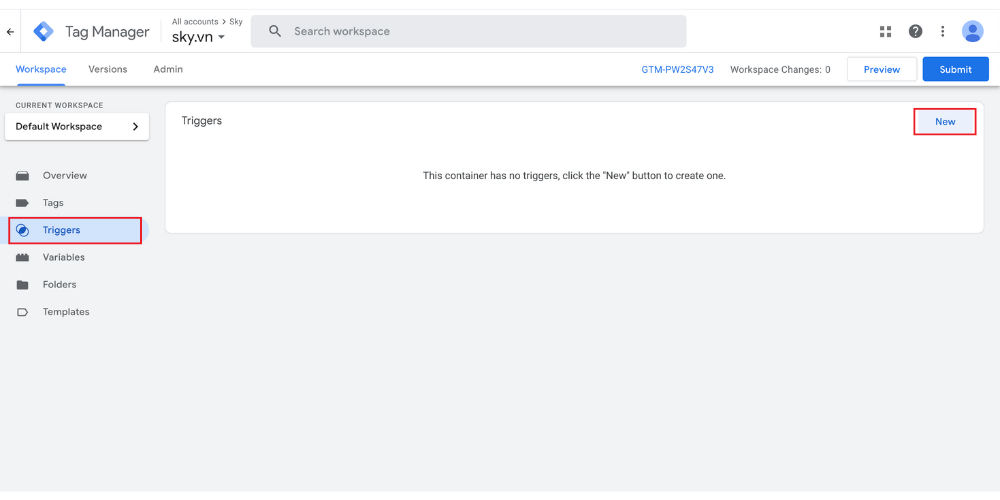
Step 1: Go to Triggers → select “New”
Step 2: In the trigger type menu, choose “Just Links”
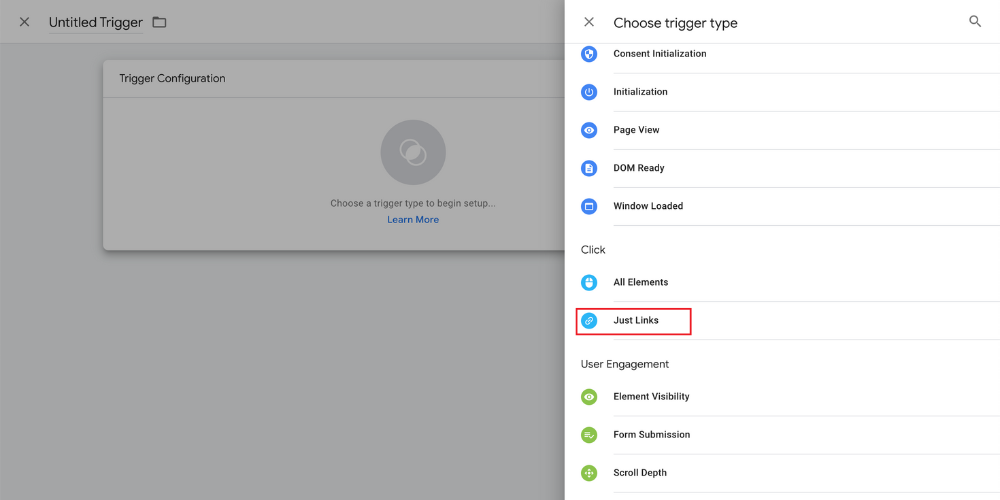
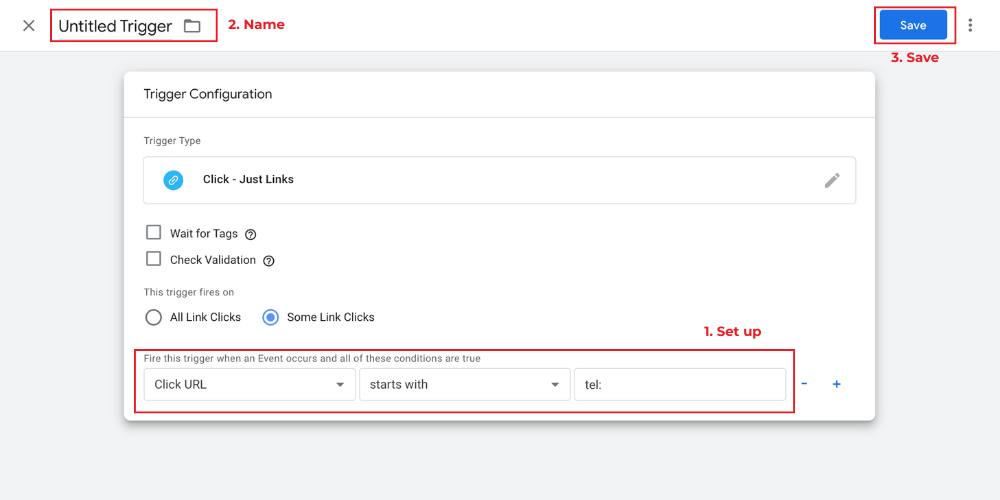
In the “Trigger Configuration” dialog:
- Select “Click – Just Links”
- Set up: Click URL → Starts with → tel:
- Click “Save”
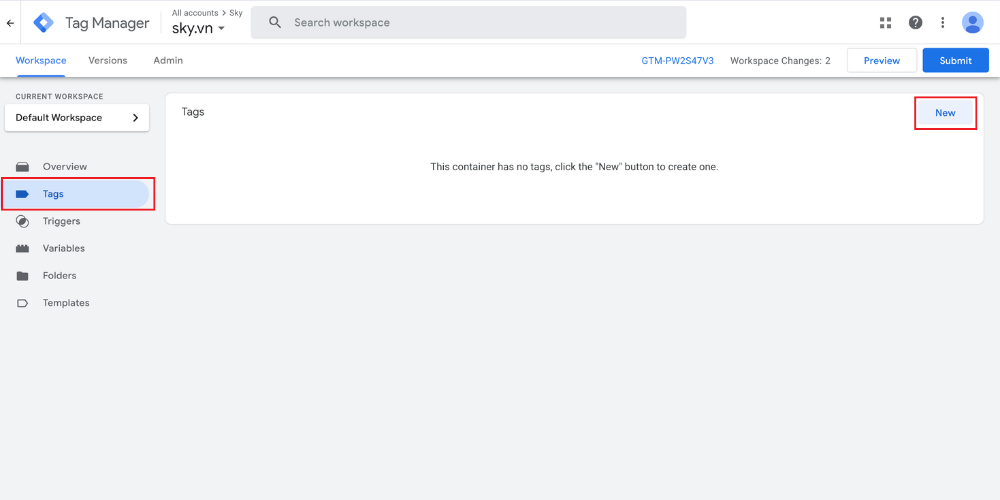
Step 3: After setting the trigger, create a tag. Go to Tags → select “New”
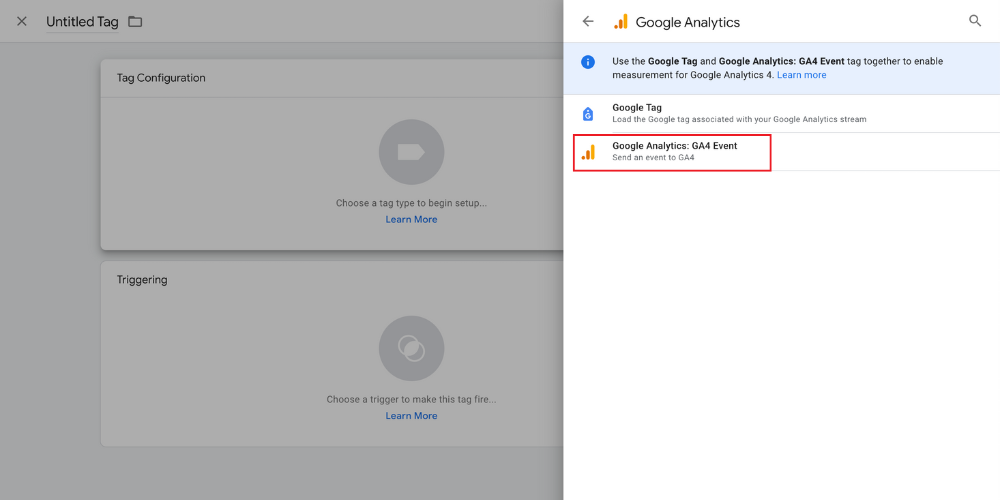
Step 4: In tag configuration, choose “Google Analytics: GA4 Event”
>> Related: Instructions for integrating Google Analytics into your store on BettaMax simply and quickly
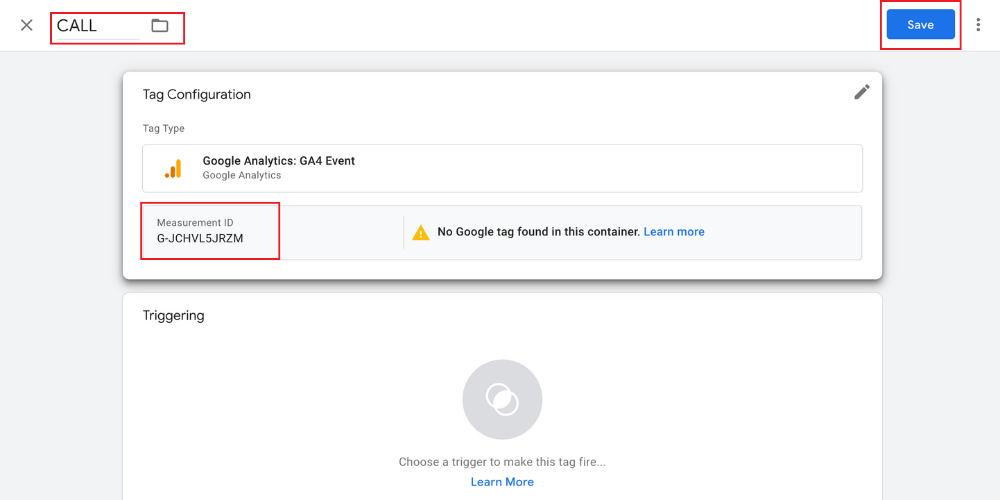
Step 5: Access “Data Streams” in Google Analytics to get your measurement ID, then enter it into GTM for tracking.

Step 6: Name the tag “Call” and click “Save” to complete the call conversion setup.
Optimize GTM with Preview & Debug
Preview and Debug are vital built-in tools in GTM. They let users test tags, variables, and triggers on your store before going live.
Optimizing Google Tag Manager is a crucial step to ensure that your GTM configurations work as expected and to prevent errors during implementation.
Step 1: Log in to Google Tag Manager → Sign in to your account → Select the container to test.
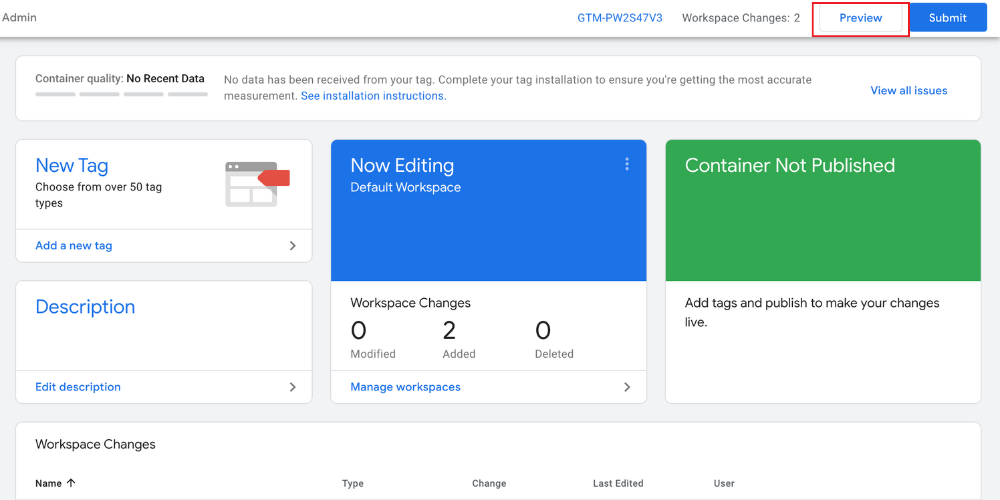
Step 2: Click “Preview” button in the top-right corner of the GTM interface.
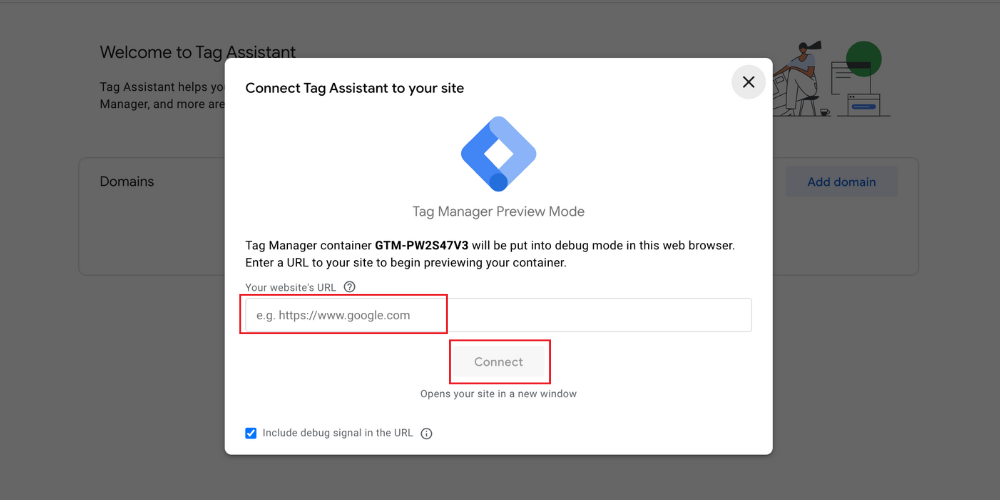
Step 3: A new window opens. Paste your store’s URL in the “Your Website URL” field → click “Connect”.
Video Tutorial
Conclusion
With Google Tag Manager, managing tags becomes much more efficient. You only need to embed the GTM ID once—after that, any new tags you create will be automatically encoded and embedded into your store without needing code edits.
This guide covers everything you need to install Google Tag Manager on your BettaMax store. We hope it clears up any questions about GTM. Thanks for reading—and happy selling!