Once an order is placed, your role is to process it in Shopify, pass the order details to your supplier, and ensure shipping and tracking information is sent back to the customer.
This guide walks you through setting up your Shopify store for smooth order fulfillment, managing incoming orders, sending them to dropshipping suppliers, and keeping customers informed with tracking updates.
Understanding Shopify Dropshipping Fulfillment
Fulfilling Shopify dropshipping orders is the process of sending customer orders from your store to a supplier, who then ships the products directly to the customer on your behalf. While Shopify handles the sale and payment, fulfillment is where you ensure the order is processed, shipped, tracked, and marked as completed inside your store.
At a basic level, the workflow looks like this: a customer places an order on your Shopify store, the order appears as Unfulfilled in your Shopify admin, the order details are sent to your supplier, the supplier ships the product, and you update the order status to Fulfilled with tracking information. This process can be done manually or automated using dropshipping apps, depending on your store size and workflow.
Setting Up Your Store for Order Fulfillment
Prepare your store so orders move from customer checkout to supplier shipment without delays. Focus on shipping rules, reliable payments, and tight supplier app integration to keep fulfillment smooth.
1. Configuring shipping settings
Set clear shipping zones and rates that match your suppliers’ origins and transit times. In Shopify, create zones for each country or region you serve, then add rates based on weight, price, or carrier-calculated costs. Use carrier-calculated shipping if your suppliers provide live rates to prevent undercharging for fast or heavy items.
Define handling and processing times per product to set accurate delivery expectations. Add shipping profiles for groups of products that ship differently (e.g., bulky goods vs. lightweight dropship items). Enable shipping labels if you plan to buy labels through Shopify or a third-party app.
Use clear shipping policies on product pages and checkout to reduce chargebacks. Include estimated delivery windows that reflect supplier lead times and buffer for customs if you ship internationally.
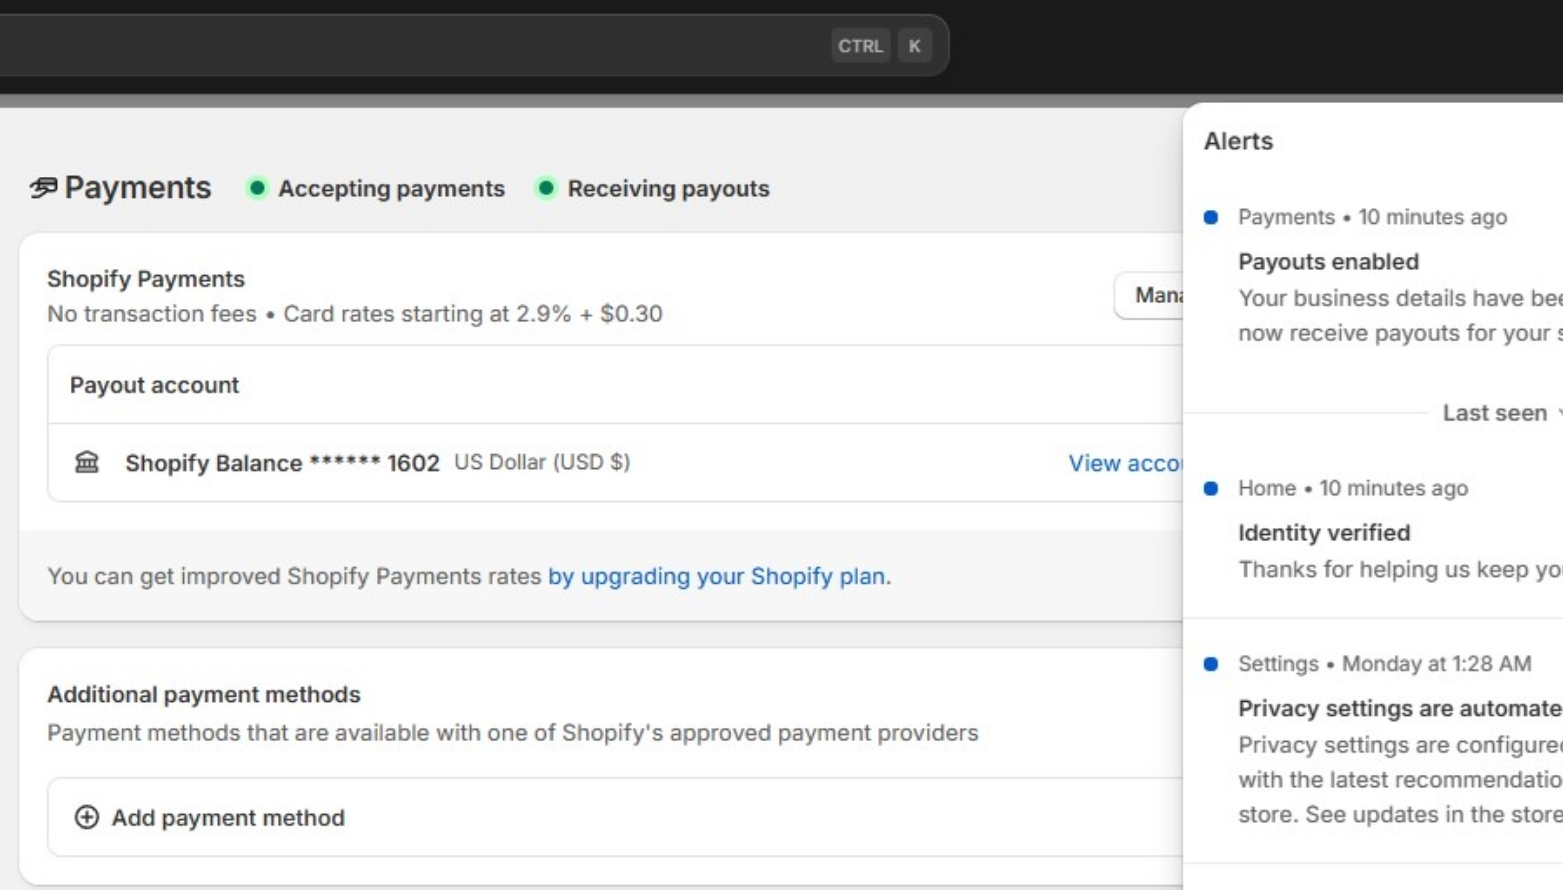
2. Enabling payment gateways
Pick gateways that support the currencies and countries you serve and that have fast settlement times. Popular choices include Shopify Payments (where available), PayPal, and Stripe. Enable at least one fallback gateway to avoid lost sales if your primary gateway declines a transaction.
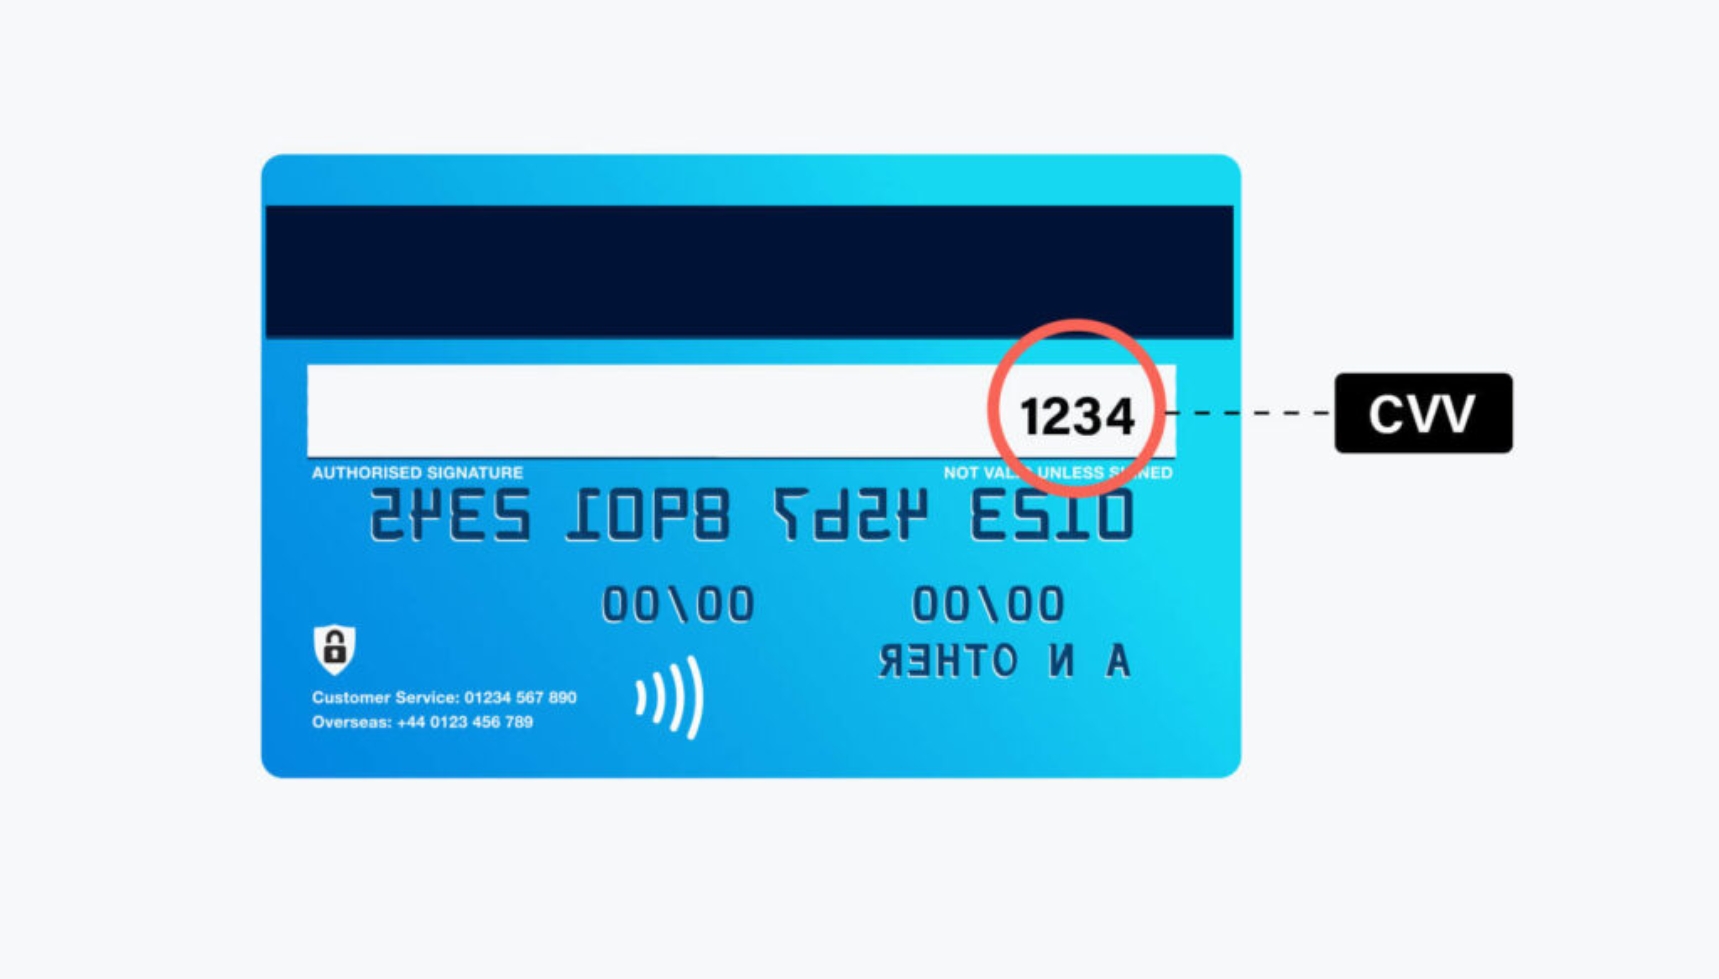
Set fraud-protection rules and require AVS/CVV checks for high-risk orders. Configure automatic order capture so payments clear at checkout; this prevents selling items that you can’t immediately fund from supplier invoices.
Review gateway fees and payout schedules to ensure margins cover dropshipping costs. Display accepted payment types on product pages and in checkout reminders to reduce abandoned carts.
3. Integrating supplier apps
Install supplier or dropshipping apps that automate order routing, tracking, and inventory sync. Choose apps that support auto-fulfillment: when an order is placed, the app forwards order details and payment to the supplier, then updates the order status in Shopify.
Verify each app’s features: inventory sync frequency, tracking number push to Shopify, SKU mapping, and refund handling. Test a live order with each supplier to confirm addresses, shipping methods, and customs paperwork flow correctly.
Maintain a fallback manual process for exceptions: flagged orders, out-of-stock SKUs, or custom packaging requests. Document app settings and supplier contact steps so you can quickly troubleshoot delays or cancellations.
Receiving and Managing Shopify Orders
Set up reliable notifications, verify customer details, and quickly separate dropshipping items from other inventory to keep fulfillment fast and accurate. Focus on the Shopify order screen, shipping addresses, and tags/filters that flag dropshipped SKUs.
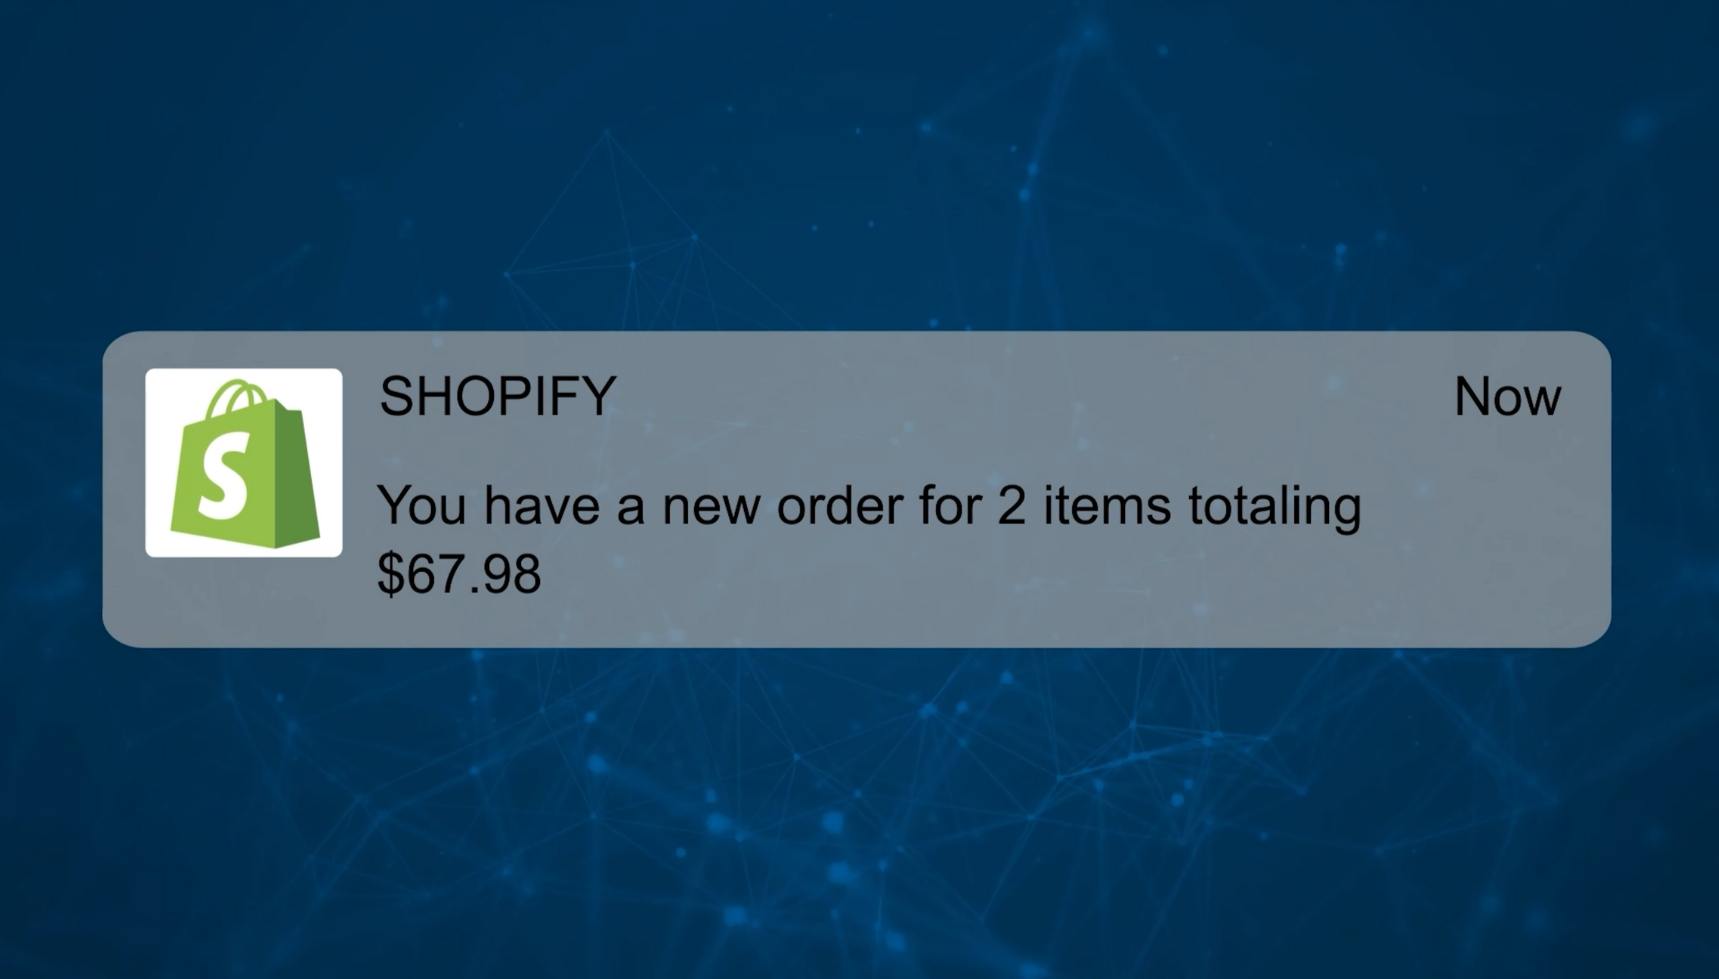
1. Order notification setup
Enable email and mobile push notifications in Shopify to receive new-order alerts in real time. Go to Settings > Notifications and add your primary fulfillment email and a team distribution list so no order slips through.
Use Shopify mobile app notifications and webhook integrations for faster handling. Configure a webhook for the orders/create event to trigger automations in Zapier, Make, or your warehouse management system.
Create rules that filter alerts by payment status, high-risk flags, or shipping country. For example, only trigger fulfillment workflows when payment is “paid” and fraud analysis is clear. Maintain a short checklist with required fields (address, phone, payment) to validate before sending orders to suppliers.
2. Reviewing customer information
Before fulfilling the order, carefully review the customer’s shipping information to avoid delivery issues or delays. Make sure all required details are complete and properly formatted. The key information to check includes:
- Full name
- Street address
- City
- Postal or ZIP code
- Country
If any of these details are missing, unclear, or do not match carrier requirements, flag the order immediately and contact the customer using the contact information provided in the order to confirm or correct the address before proceeding with fulfillment.
Check phone numbers for international format and confirm any special delivery instructions in the order notes. Confirm the chosen shipping rate matches the product’s weight and destination to avoid underpaid labels.
Verify the customer’s email for order confirmations and tracking updates. Inspect the payment status and fraud analysis provided by Shopify; hold orders marked “high risk” until you confirm legitimacy to reduce chargebacks and supplier headaches.
3. Identifying Dropshipping Orders
Tag products that you fulfill via dropshipping with a consistent metafield, product tag (e.g., “dropship”), or a specific vendor name. Use Shopify saved filters on the Orders page to show orders containing those tags for immediate action.
Integrate your dropship supplier app (DSers, Spocket, CJ) so dropship orders contain supplier SKUs and lead times. Check the order line items for supplier SKU, cost, and any variant notes before sending the purchase order to the supplier.
Maintain a short checklist per dropship order: supplier SKU match, inventory confirmation, estimated ship date, and tracking promise. Use automated messages to inform customers of supplier lead times and provide tracking once the supplier ships.
How to Fulfill Orders With Shopify Dropshipping Suppliers
You control order accuracy, shipping speed, and customer updates by choosing the right workflow and tools. Know when to push orders manually, when to automate, and how to keep suppliers accountable to protect your margins and reputation.
1. Manual Fulfillment Workflow
Manual fulfillment means you handle each order yourself by placing it directly with the supplier. This method is common for beginners with low order volume or sellers who want full control over each shipment.
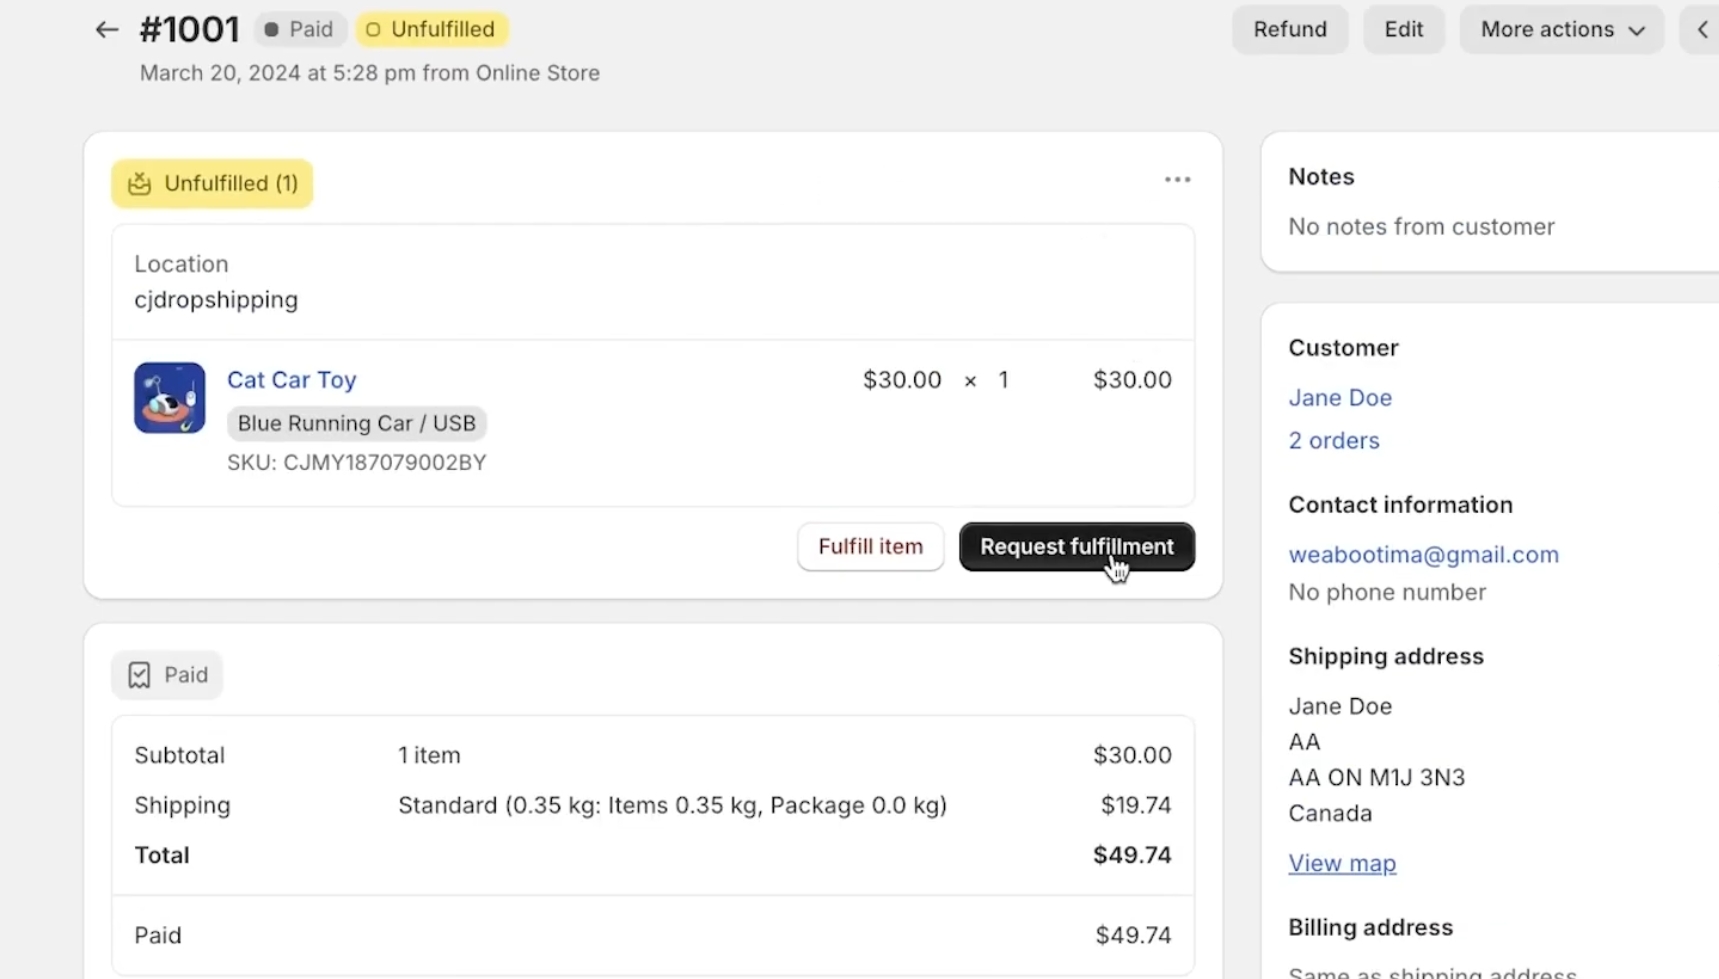
- First, when a customer places an order, it appears in your Shopify admin under Orders with the status marked as Unfulfilled. You then log in to your supplier’s platform, such as AliExpress, find the same product, and manually place the order using your customer’s shipping address.
- After the supplier processes and ships the order, they provide a tracking number. Once tracking is available, you return to the Shopify order, mark it as Fulfilled, add the tracking number, and notify the customer. Shopify will automatically send a shipping confirmation email if notifications are enabled.
Manual fulfillment works well for testing products or new stores, but it becomes time-consuming and error-prone as order volume increases.
2. Automated Fulfillment Solutions
Automated fulfillment uses dropshipping apps to handle order processing and tracking for you. This is the preferred method for most Shopify dropshippers once sales start to scale.
To get started, you install a dropshipping app such as DSers, Spocket, or CJdropshipping from the Shopify App Store. After connecting the app to your store, new orders are automatically synced to the app as soon as customers check out.
The app sends order details directly to the supplier, who then processes and ships the product. When the supplier provides a tracking number, the app automatically syncs it back to Shopify, updates the order status to Fulfilled, and triggers customer notification emails without manual input.
Automated fulfillment saves time, reduces mistakes, and makes it much easier to manage higher order volumes while keeping customers informed.
Tracking and Updating Order Status
Keep customers informed by adding tracking numbers promptly and syncing status changes to Shopify so emails and the order status page reflect progress. Accurate tracking reduces support requests and prevents disputes.
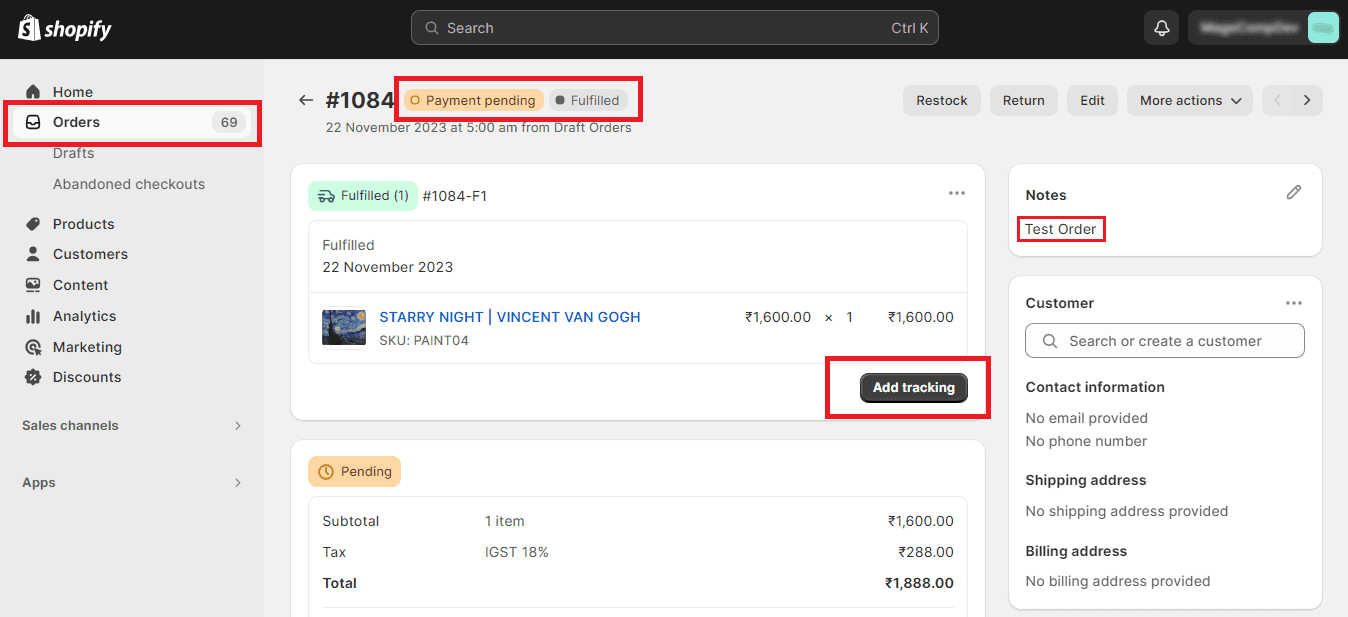
1. Adding Tracking Numbers
Add tracking numbers to the Shopify order once your supplier provides them. Open the order in Shopify, click Fulfill items, enter the carrier and tracking number, and mark the items as fulfilled. If you use an app or a supplier that auto-fulfills, verify the tracking values against the supplier’s shipment notice before confirming.
Use the exact carrier name Shopify recognizes (e.g., USPS, DHL Express, Cainiao) to enable automatic tracking links. For multiple packages, add each tracking number as a separate fulfillment so customers see package-level details. If the supplier sends a tracking URL instead of a number, paste it into the tracking URL field so customers can click directly.
2. Syncing Order Updates to Customers
Enable Shopify’s order status emails to notify customers when you fulfill or update an order. In Settings > Notifications, make sure Order confirmation, Shipping confirmation, and Shipping update templates are active and include tracking placeholders like {{ fulfillment.tracking_number }}.
If you use third-party fulfillment apps or dropshipping suppliers, enable webhooks or app-level sync so status changes and tracking numbers push into Shopify automatically. Test the flow with one order: confirm the supplier’s tracking posts to Shopify, then verify the customer receives the shipping confirmation with a working tracking link. Monitor failed syncs in the app’s logs and correct carrier name mismatches to prevent missing notifications.
Handling Order Issues and Returns
Prepare clear steps for resolving stock problems, refunds, and supplier returns so you can act quickly, protect margins, and maintain customer trust.
1. Managing Out-of-Stock Products
When a supplier reports or you discover an out-of-stock (OOS) item, update the product immediately in Shopify. Mark variants as unavailable or remove the buy button to prevent new orders, and add an estimated restock date in the product description or a banner.
Offer customers options on existing orders: ship a backordered item with a discount or free expedited shipping, substitute a similar product with customer approval, or cancel with a full refund. Use Shopify tags and a saved search to quickly surface affected orders. Communicate via email within 24 hours, include the expected resolution, and provide a case number or order note for tracking.
Automate alerts using your dropshipping app (DSers, Spocket, etc.) or Shopify Flow so you get supplier OOS notices in real time. Track cost impact in a dedicated report to adjust pricing or supplier choices if OOS occurrences are frequent.
2. Processing Refunds
Process refunds promptly through the Shopify Orders page to keep payment reversals and tracking aligned. For partial refunds, document the reason and line-item adjustments in the order notes so your accounting and customer service teams understand the change.
Follow this sequence: confirm the refund amount with the customer, issue the refund in Shopify, update inventory if the item returns to stock, and send a confirmation email with the refund timeline. If the supplier is responsible, file a cost-recovery claim with them before absorbing the expense. Record refunds in your bookkeeping system and tag orders for supplier reimbursement follow-up.
Set a clear refund policy on your store page with timeframes (e.g., 14–30 days), restocking fees if any, and who pays return shipping. Use saved replies and templates to reduce response time while keeping messages consistent and professional.
3. Facilitating Returns With Suppliers
Define a returns policy with each supplier before listing products. Clarify who covers return shipping, acceptable return conditions, restocking fees, and whether the supplier issues refunds or requires replacement-only fulfillment.
Create a returns workflow in Shopify: collect photos and reasons, issue an RMA number in your system, and share return instructions with the customer. If the supplier accepts returns, forward the RMA and tracking details to them and request written confirmation of receipt and refund timeline. For suppliers that refuse returns, negotiate partial refunds or credit for damaged or incorrect items and document all agreements.
Use a simple table in your internal knowledge base to track supplier return terms:
| Supplier | Return Window | Return Shipping | Restocking Fee | Refund Type |
|---|---|---|---|---|
| Supplier A | 30 days | Supplier pays | 10% | Refund/Replacement |
| Supplier B | 14 days | Customer pays | 0% | Replacement only |
Keep this table updated so you can handle returns consistently and escalate disputes with clear evidence.
Scaling Your Shopify Dropshipping Fulfillment
Focus on systems that keep fulfillment accurate as order counts rise, expand with predictable costs into new countries, and automate repetitive tasks to maintain speed and customer satisfaction.
1. Handling Increased Order Volume
When daily orders grow from dozens to hundreds, standard manual processes break. Use a clear SOP for order review, quality checks, and exception handling so your team or VA knows exactly when to escalate issues.
Batch similar SKUs for supplier submissions and pick/pack workflows to reduce errors and save time. Negotiate minimums and faster processing windows with top suppliers to secure priority during peaks. Implement simple KPIs order processing time, shipping accuracy rate, and late-shipment percentage and review them daily at first, then weekly as you stabilize.
Train a small fulfillment team with role-based checklists: one person manages order intake and tracking, another handles supplier communications and refunds, and a third focuses on customer support. Outsource overflow to a vetted third-party logistics (3PL) or US/EU-based dropship-focused warehouse when capacity or accuracy thresholds exceed your in-house ability.
2. Expanding to New Markets
Start by choosing one additional market where your top suppliers offer reliable shipping and tracking, such as the US, EU, or Australia. Confirm carrier transit times, customs procedures, and any VAT/GST requirements before listing the country.
Localize product pages: prices in local currency, accurate shipping estimates, and return policies that match local expectations. Set up market-specific shipping zones and checkout messaging in Shopify, and test orders from local addresses to verify fulfillment timelines and tracking visibility.
Consider local 3PL or distributed inventory for fast delivery in high-volume markets. If using suppliers from marketplaces (AliExpress, US-based wholesalers), ensure they provide consolidated tracking and complaint resolution SLA to minimize chargebacks and disputes.
3. Utilizing Advanced Fulfillment Tools
Automate routine tasks with apps and integrations that sync orders, push fulfillment requests, and update tracking automatically. Use Shopify Flow (if on a compatible plan) or automation apps to tag orders by priority, route to specific suppliers, and create shipping labels.
Choose an order management system (OMS) or app that supports split shipments, multi-supplier routing, and real-time inventory updates. Integrations with Shopify, your suppliers’ APIs, and carriers reduce manual entry and cut mistakes.
Implement a dashboard that shows open orders, delayed shipments, and refunds in one view. Add automated customer notifications for processing, shipping, and delivery with templated messages that include tracking links. Periodically audit your automations and supplier APIs to catch changes that could break fulfillment flows.